As an Amazon Associate, we earn from qualifying purchases. Some links on this site are affiliate links at no extra cost to you. Our recommendations are based on thorough research and editorial judgment.

Cut-In vs Roll-First: Which Order Gives Cleaner Edges
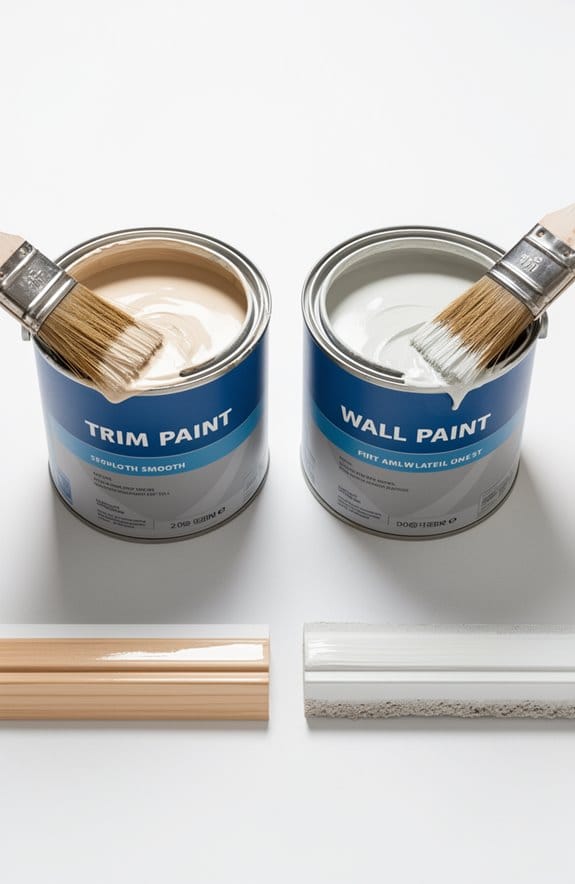
Want sharper edges when you paint? You’re not alone—it’s a common dilemma for DIYers. Here’s the scoop: starting with the cut-in technique is the way to go. Grab a 2-inch angled brush and carefully paint the edges and corners. You’ll get those crisp lines, and trust me, it makes a huge difference.
You may be interested


Just remember to let those cut-in areas dry completely before you roll on the main color.
So, what’s the downside of rolling first? It can lead to patchy edges and, inevitably, more touch-ups. That’s a headache no one wants. Instead, by cutting in first, you keep the mess to a minimum and create a more uniform texture throughout the room.
The best part is that this straightforward method gives you control over how clean your edges look. It might take a little extra time upfront—but it saves you frustration later.
Honestly, if you’re serious about making your space look polished, don’t skip this step. Once the cut-in is done and dried, you can roll away without worrying about ruining those perfect edges.
In short, for cleaner edges, go with cut-in first, then roll. What painting tips have you discovered that worked wonders for you?
Key Takeaways
- The cut-in technique creates cleaner and sharper lines around edges and corners, enhancing the overall finish quality.
- Applying paint with a roller first can lead to messy edges that require more touch-ups for a polished look.
- Rushing drying times in the roll-first method may cause patchy areas and disrupt uniformity in texture and color.
- Professional painters often recommend cutting in before rolling to achieve precise edges and a cohesive finish.
- Using quality tools like angled brushes during the cut-in process further enhances edge clarity and control.
A Direct Comparison: Cut-In vs. Roll-First Techniques for Edge Precision

So, you’ve got an interior painting project coming up, and you’re stuck deciding between the cut-in and roll-first techniques for those tricky edges. It can feel overwhelming, right? The way you tackle edge precision makes a big difference in the final look, so let’s break it down.
With the cut-in method, you’re starting off by using a brush to carefully paint the edges and corners. This technique helps create cleaner and sharper lines, especially around the trim where precision is key. If you want that polished finish, this is a solid approach. But what about rolling first? While it might seem quicker, it often leads to issues like the halo effect if your edges dry too fast. That’s not what you want when you’re looking for that seamless look.
Here’s the trick: if you cut in before rolling, you’ll keep that consistent texture across your surfaces. Plus, it means you won’t have to wrestle with extensive masking, which can be a real hassle. Fewer headaches and a smoother finish? Yes, please!
Honestly, it’s all about the technique you choose. If you’ve ever ended up with a messy edge while rolling first, you know why it’s worth putting in the extra effort.
To sum it up, cutting in before you roll can give you that neat, professional edge you’re after. So next time you pick up that paintbrush, consider tackling those edges first. Have you tried cutting in before rolling? What was your experience like?
Using ergonomic handles on paint edger tools can further enhance precision and reduce fatigue during these delicate steps.
Recommended Products

SAY GOODBYE TO PAINTERS TAPE: Stop wasting hours on tedious prep work. This 12-inch paint guard lets you cut in directly along ceilings, trim, and baseboards, saving you time and frustration. Get professional results faster and skip the hassle of applying and removing tape.

Guide wheels ensure sharp clean lines when trimming around ceilings, baseboards, windows, doors and moldings.

Secure connection mechanism: Ensures wheels stay firmly attached even under heavy use, providing stable support for painting walls, ceilings, and corners with precision
Which Method Produces Sharper Edges?

How do you get those sharp edges in your painting projects? It can be a bit tricky, but starting with a technique called “cutting in” before rolling on the paint can make all the difference. This method shines in tight spots like corners and trim, where precision is key.
Here’s the trick: try using the “roll once, cut twice, roll finish” approach. It keeps that cut-in area wet, which helps reduce that annoying halo effect you might be familiar with. Make sure you apply a wider strip of paint when cutting in; this makes the transition smoother and gives you better access to finish things off with your roller.
Engaging quality tools matters too—angled brushes work wonders for creating those crisp lines. So, why does this matter? Because taking these steps can elevate your paint job from just okay to looking professional, helping you mask mistakes and leaving you with clean, sharp results.
Honestly, it’s all about patience and practice. Take your time and don’t rush through the cutting-in phase. Remember, the sharper the edges, the better your overall finish will be. Using paint extenders can also improve paint flow and drying times, further enhancing edge sharpness and finish quality.
Recommended Products

Various sizes:The set of brushes provide 10 angled brushes of different sizes, including sizes #0, #1, #2, #3, #4, #5, #6, #7, #8, #9, #10 to help you achieve maximum desired painting result

COMPLETE 5-PIECE BRUSH SET FOR EVERY PAINTING TASK — Includes 1 Inch Flat, 1.5 Inch Angle, 2 Inch Flat, 2 Inch Angle Stubby, and 2.5 Inch Angle brush giving you every size professional painters use daily. Get all 5 for less than the price of a single brush from hardware store brands — professional grade performance at a fraction of the cost. Perfect for walls, trim, cabinets, doors, furniture, and detailed cutting-in work on any project.

PROFESSIONAL BRUSHS: The set of brushes include 12pcs of different sizes. Model #1,#2,#3,#4,#5,#6,#7,#8,#9,#10,#11,#12, Apply to oil, acrylic, watercolor, art painting, face painting, miniatures, detailing, craft art painting, model, etc.
How Do Drying Times Affect Your Painting Process?

Have you ever painted a room only to feel disappointed with the finish? It can be frustrating when drying times mess with your hard work. Getting that flawless finish depends on understanding how long you should really wait between coats. If you slap on that final coat before the first one is completely dry, you run the risk of smudging your masterpiece!
To speed things up a bit, try cutting in high and low while rolling. This technique not only helps you finish quicker but also reduces the chance of that pesky halo effect around edges. Keep an eye on how quickly the paint dries, too. Uneven drying can lead to patchy areas that’ll need extra touch-ups. Nobody wants to do more work than necessary!
So, how can you ensure a smooth finish? Make sure your rolled paint lines up with the cut-in areas right after they dry. Doing this helps you maintain a uniform texture and color across the entire surface.
Honestly, staying organized and taking your time pays off. You’ll thank yourself when you see the finished product, and the pride you feel will make it all worth it. What tips have you picked up to keep the painting process smooth?
Using tools with drip-free technology can minimize messes and keep your edges clean during renovations, complementing your painting process perfectly.
Recommended Products

Our no-shed microfiber roller covers ensure a perfect paint or stain finish for stunning results.

【Complete All-in-One Kit】This no-drip ceiling paint roller kit includes everything you need for clean, efficient painting: a 98.6 Inch sturdy extendable extension pole, a reusable blue plastic splash guard, a premium roller cover, and an adjustable rotating roller head. No extra painting supplies needed—perfect for both beginners and professional painters.

COMPLETE 12-PC PROFESSIONAL SET:Includes 4" tray ×1, snap-fit handle ×1, reusable liners ×2, liner cover ×1, dual-brown microfiber sleeves ×4, white microfiber sleeves ×2, and 1.5" angled brush ×1. Perfect for walls, ceilings, trim, cabinets, and furniture
Key Tips for a Flawless Finish
Want to nail that flawless finish on your next painting project? It’s all in the technique! Let’s dive into some practical tips that can make a world of difference.
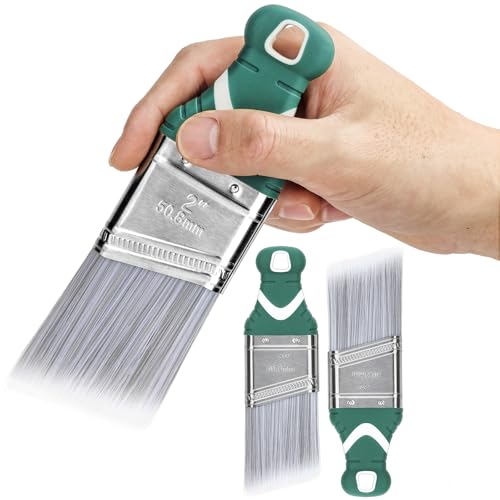
First off, cutting in can be a real make-or-break moment. Grab a brush that’s about 2 inches wide; this helps you get a nice clean edge. As you paint around those tricky corners, hold the brush at a 45-degree angle. Take it slow, and let those controlled movements guide you to precision.
Once you’ve got those edges set, roll your first coat of paint onto the walls while those cut-in lines are still wet. Why, you ask? Because blending them right away helps avoid that annoying halo effect. And trust me, nobody wants that!
Now, pay close attention to drying times. If you rush through the coats, you could end up with patchy spots that ruin your hard work. Carefully monitor how long it takes for each layer to dry so your finish looks seamless.
Using a paint sprayer with adjustable flow control can also help you achieve a smooth, professional finish by minimizing overspray and ensuring even coverage.
The best part is that these little tips can lead to clean, professional-looking results every time! So, next time you grab your paintbrush, remember these steps for a flawless finish. Have you tried any painting tricks that worked for you?
Recommended Products

Made in United States

Pack of 2 | Flexible purple Shergrip handle that measurers only 2 Inches long that adds maneuverability in tight spaces

2 Inch Angled Paint Brush for Precision Cutting-In – Designed for clean, sharp lines around trim, baseboards, ceilings, corners, and detailed edge work. The perfect size for control and coverage.
What Do Pro Painters Swear By?
Professional painters often swear by the “cut-in first” method for a very good reason. Ever dealt with those annoying edges where paint seems to smudge? This technique can save you from that headache. By cutting in a strip about 2 inches wide before rolling, you can get those sharp, clean lines, especially in tight spaces like corners and trims. Plus, it makes navigating tricky areas way easier.
Here’s the trick: make sure you let those cut-in edges dry completely before rolling. This step is crucial! If you don’t, you might end up with that annoying “halo effect,” where the rolled paint bleeds into the cut-in area. By keeping these two methods in mind, you’ll not only streamline your process but also step up your painting game for professional-quality results. For best results, choosing products with ease of application can significantly enhance your workflow and finish quality.
Recommended Products

Flexible purple Shergrip handle that measurers only 2 Inches long that adds maneuverability in tight spaces

Professional Trim & Edging Precision: Achieve razor-sharp lines with this ultimate trim paint brush and edging paint brush. The firm, micro-tipped synthetic bristles are engineered for control, making it suitable for trim, ceilings, and corners. It holds paint well for a smooth, streak-free finish every time
【What You Get】3pcs 2-Inch short handle angle paint brush, featuring synthetic bristles, stainless steel ferrule, and rubber grip with hanging hole. Use with all paints, easy to clean, simply rinse to remove paint and air dry for reuse. Size: 6.5"L x 2"W x 0.6"H, weigh 70 grams each.
Frequently Asked Questions
Should You Cut in First or Roll First?
We should cut in first for better control and cleaner edges. Combining effective cutting techniques with our rolling methods, we guarantee paint safety and a flawless finish. Let’s make our painting project a success together!
Should You Cut Before or After Rolling?
We should cut in before rolling to achieve the best edge definition techniques. By utilizing effective paint application methods and following surface preparation tips, we can guarantee a professional finish without unwanted halos or inconsistencies.
Which Is the Correct Sequence of Painting?
The correct sequence for painting is to start with ceilings, then trim, and finally walls. This way, we maximize edge precision, control paint thickness, and utilize our brush technique effectively for a flawless finish.
Does It Matter if Cutting in Dries Before Rolling?
Imagine a beautiful tapestry; if one thread dries before weaving, the picture won’t mesh. Similarly, if our cutting technique dries too long, it ruins our paint finish, leaving unsightly marks from differing drying times.