As an Amazon Associate, we earn from qualifying purchases. Some links on this site are affiliate links at no extra cost to you. Our recommendations are based on thorough research and editorial judgment.
Managing Edges: How to Keep a Wet Edge and Avoid Flashing
Ever tried to paint a room only to find yourself battling with streaks and section lines? Keeping a wet edge is key to getting that flawless finish you want. Here’s how you can make it happen without losing your mind over flashing.
You may be interested


First off, working in smaller sections of about 3×4 feet can really help. It lets you overlap your strokes into wet paint, which is crucial for a uniform look. Honestly, the quality of your paint plays a big role too. The better the paint, the longer you’ve got before it dries, making it easier to manage your edges.
Timing’s everything. Try painting during the cooler parts of the day when paint tends to dry slower.
And don’t overlook additives like Floetrol if you’re using water-based paint; it can help keep things open longer.
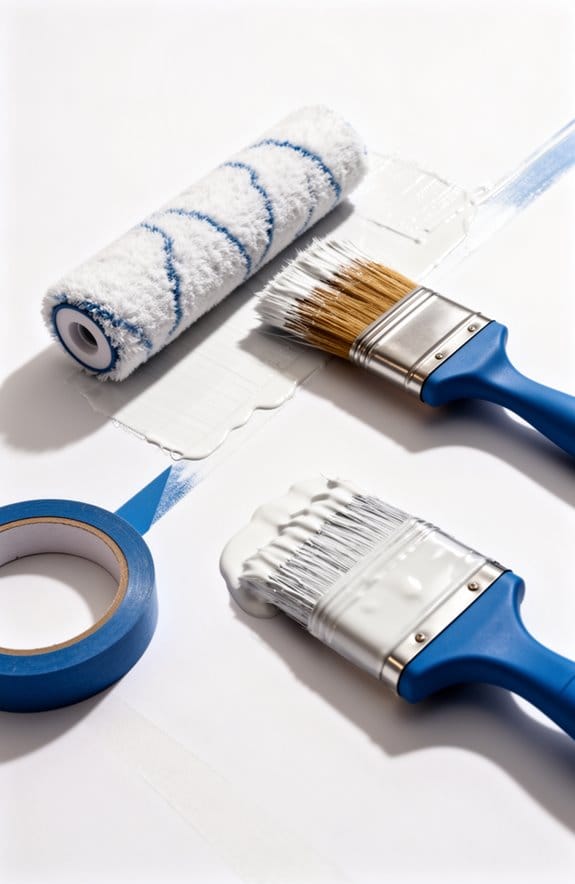
When it comes to your tools, invest in some quality brushes and opt for 3/8-inch nap rollers. These will make a difference, trust me.
Also, keep an eye on how much paint is on your roller—checking your paint load can help avoid those annoying drips.
So, why does this matter? A smooth, even finish can really transform a space and make all your hard work worth it.
By following these tips, you’re setting yourself up for success.
In the end, a little planning and the right approach can make painting much more enjoyable. What’s your best tip for keeping a wet edge?
Key Takeaways
- Work in smaller sections (3×4 or 4×4 feet) to easily manage a wet edge and avoid flashing.
- Overlap each stroke into the previous wet paint to enable smooth blending and minimize lap marks.
- Paint during cooler parts of the day to slow down drying and maintain a workable surface.
- Use high-quality paint and consider additives like Floetrol to extend open time and improve flow.
- Keep a damp cloth accessible for quick fixes and employ a 3/8-inch nap roller for optimal coverage.
How to Keep a Wet Edge While Painting

When you’re tackling a painting project, keeping that wet edge is crucial. Think about it—how annoying is it to see those pesky lap marks after your hard work? To avoid this, try working in smaller sections, like 3×4 or 4×4 feet. This way, you’re less likely to have the paint dry before you can blend those strokes together.
As you’re painting, make sure to overlap each stroke into the wet paint from the previous section. It’s all about achieving that smooth, continuous coverage. If you find yourself going too slow or getting too enthusiastic with brushing and rolling, you could be speeding up the drying time. Instead, keep a steady pace to ensure that your paint stays wet longer.
Planning ahead can save you a lot of headaches. If you know there are natural breaks in your space—like windows—use them to your advantage. Pausing there not only keeps your flow intact but also provides a great opportunity to assess how things are looking up to that point.
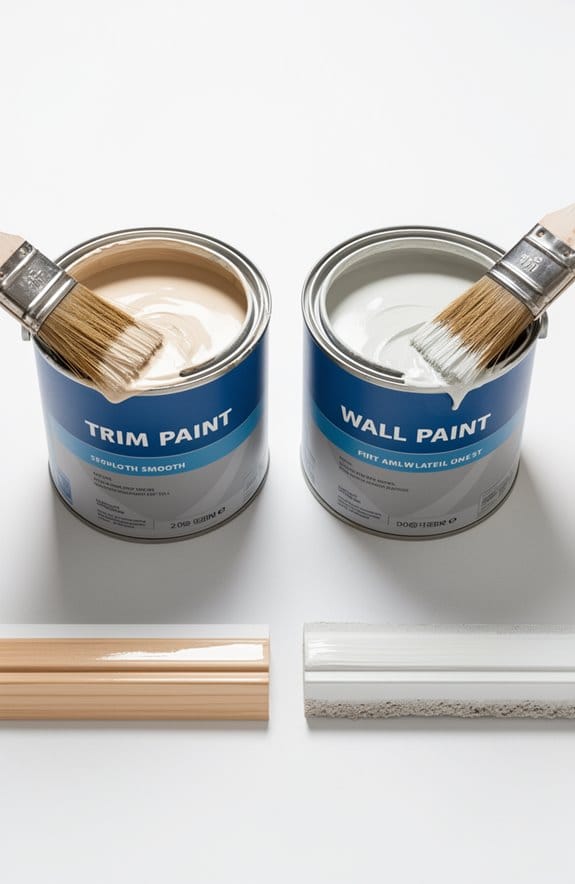
The best part is that the quality of your paint really makes a difference. High-quality options tend to give you more time to work with before they dry. Also, keep an eye on your environment. Factors like humidity and temperature can affect how quickly your paint sets, so try to find that sweet spot when painting.
Using equipment with adjustable pressure settings can help maintain an even application, further preventing lap marks and ensuring a consistent finish.
Recommended Products
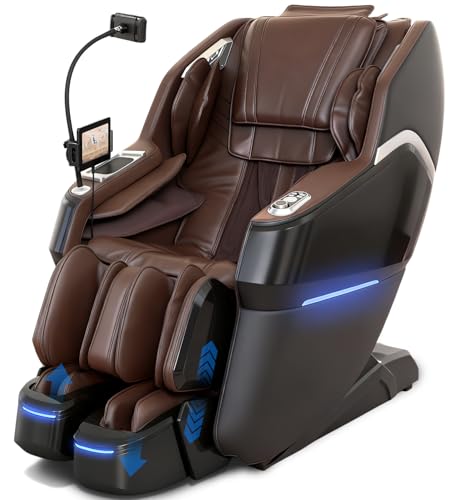
Revolutionary Space Walk Deep-Stretch Technology (Patented): Notired’s advanced massage chair delivers next-level relief for your calves, feet, and ankles; Each leg can be independently stretched and massaged, offering tailored elevation and traction; Dual foot rollers and wrap-around air compression precisely targets acupressure points from heel to toe for a spa-grade , full-coverage foot therapy experience
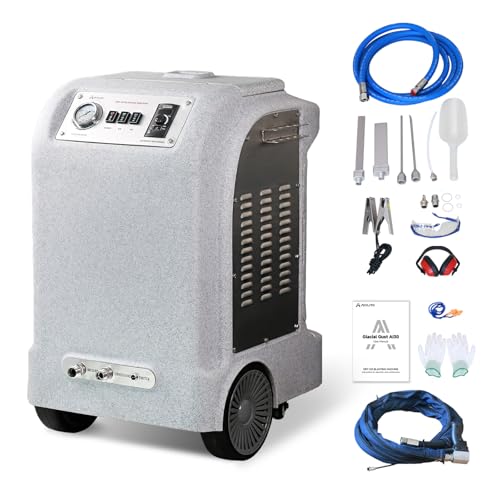
Heavy-Duty Industrial Cleaning: This dry ice blasting machine removes grease, oil, carbon deposits, resins and adhesives. Achieves surface-safe, non-destructive deep cleaning across automotive, food processing, printing, and manufacturing lines

Efficient automatic dispensing: The Start International TDA080 electric heavy-duty tape dispenser automatically dispenses and cuts most types of tape, including duct tape and acrylic foam tape, with a precision cut tolerance of ±0.04" (1mm). Ideal for repetitive industrial tasks requiring accurate tape application.
Common Causes of Flashing and Lap Marks

Ever notice those frustrating flashing and lap marks on your freshly painted walls? You’re not alone. Many people struggle with these common paint issues, but understanding what causes them can really help you achieve that smooth, professional finish you’re after.
Flashing happens when the paint thickness isn’t even, leading to patches with different sheen levels. Think about it; if you paint part of the wall and then come back later, the new coat can look shinier or duller than the earlier one. It’s often worse in high humidity or when the sun’s blazing down on the surface as you work. On the other hand, lap marks show up when the paint dries too fast, stopping those layers from blending nicely.
So, how do you tackle these problems? First off, keep a wet edge while you’re painting. That means you should always work on freshly painted areas without letting them dry completely before adding more paint. Using quality paint can also make a big difference. It helps achieve uniform porosity, which is essential for a smooth finish.
Here’s a pro tip: Consider working in smaller sections rather than trying to cover the entire wall at once. This approach makes it easier to maintain that wet edge and reduces the risk of those lap marks.
Honestly, consistency is key. Pay attention to your application techniques, and don’t rush. You want each stroke to contribute to the overall look.
At the end of the day, avoiding flashing and lap marks is all about being mindful and patient. Things won’t always go perfectly, but with these tips, you can certainly improve your chances of achieving that flawless finish. So, what’s your go-to strategy when tackling paint jobs?
Priming surfaces properly with oil-based primers before painting can significantly reduce unevenness and help maintain a consistent finish.
Recommended Products

Durable Protection: Provides a high-impact, UV-resistant clear coat that safeguards surfaces against scratches, chips, and chemicals

Contains: (6) One Gallon Cans of Ipe Oil

Techniques for Keeping a Wet Edge

Ever tried painting and ended up with those pesky overlap marks ruining your hard work? Keeping a wet edge while you paint can be tricky, but with some smart techniques, you can make a huge difference in the outcome.
Start with working in smaller sections. Aim for around 3×4 or 4×4 feet. By overlapping your rolling motions while the paint’s still wet, you’ll get a much smoother finish. It’s also essential to avoid over-brushing or rolling, as that can dry out the paint super quickly. Who wants to see those unsightly marks?
Timing really matters too. Try to paint during the cooler parts of the day; this can slow the drying process and give you a bit more leeway. And don’t forget about using additives like Floetrol; they can help extend the open time of water-based paints, making it easier to maintain that wet edge.
Also, keep an eye on your roller. If it’s overloaded with paint, you’ll get drips, which will mess up your coverage. Regularly checking and adjusting your roller will ensure you’re applying paint evenly and keeping that wet edge intact.
For optimal results, make sure to follow the recommended mixing ratio of Floetrol to paint to improve coverage and flow.
Recommended Products

Floetrol can be used in all acrylics, water-based paints and stains, water-based textured coatings and pebble finishes.

MARINE SEALANT: Our liquid formula creates a UV-stable coating for protection against the elements, saltwater spray, and water damage. Marine is a great protector for outdoor furniture, thermally modified wood, and boat docks. Marine is safe for use over open water and is non-hazardous to aquatic life.
Floetrol is a latex paint conditioner, not a thinner. It maintains and fortifies the qualities of latex paint, unlike water
Essential Tools for a Perfect Paint Edge
Want edge-to-edge perfection when painting? Those clean paint lines are often what set a professional finish apart from a DIY project gone wrong, right? Think about investing in some high-quality brushes and rollers; they’ll define those edges and hold a nice wet edge, making your job a whole lot easier. Plus, painter’s tape made especially for edges is a must-have—it seriously cuts down on paint bleeds and keeps your lines crisp throughout the wall.
When it comes to rollers, try using a 3/8-inch nap for most wall textures. This nap size gives great coverage along the edges without leaving behind a bunch of texture that’s unnecessary. Keep a damp cloth nearby while you work. It’s a lifesaver for quickly dab away any drips or unwanted lines that pop up during your painting session.
Here’s the trick: while you’re rolling, employ a W pattern. Overlap your sections! This way, you maintain that important wet edge and can avoid those annoying lap marks that can ruin your whole look. Also, choosing roller covers made from shed-resistant microfiber can improve paint pickup and ensure a smoother finish.
Recommended Products

Synthetic blend for all paints, latex and oil-based

100% Grout-Free & Watertight System: Eliminate the hassle of grout maintenance forever. Made from robust, non-porous PVC, this surround is naturally water resistant, providing a seamless, wipe-clean surface that guarantees a watertight seal when installed correctly.

DESIGNED FOR YOUR NEEDS: Cuts tape widths from 6mm to 60mm and lengths from 5mm to 999mm; automatically self-adjusts to varying tape thicknesses from 0.05mm to 0.3mm for hassle-free, precision application without manual calibration
How to Troubleshoot Flashing and Edge Problems?
How can you tackle those annoying flashing and edge problems during a painting project? It’s frustrating to step back and see uneven finishes, right? The key is to ensure that you’re applying enough paint evenly across the entire wall. Thin spots dry differently, which can lead to that pesky flashing.
Here’s a tip: using a primer on porous surfaces can really help. It promotes uniform absorption, reducing the risk of issues later. When you’re painting, try working in smaller sections to maintain a wet edge as you go. This method helps achieve even coverage and keeps those visible inconsistencies at bay.
Also, don’t underestimate the impact of your environment. Temperature and humidity can speed up drying times, which might worsen flashing. And let’s talk about paint quality—using better paints and tools can increase adhesion and smooth out the flow, minimizing those edge problems.
Truth is, keeping a close eye on these elements can make a world of difference in your finished project. Just remember, consistency is crucial for a professional-looking result. So, what’s your plan to avoid flashing issues on your next paint job? Using adhesion primers helps improve paint adherence and prevents uneven finishes on different surfaces.
Recommended Products

SUPERIOR FLEXIBLE SEALANT: Liquid Rubber's foundation sealer creates a permanent waterproof membrane for basement waterproofing, foundation leak repair, shower liners, and planter boxes. This professional-grade sealer delivers unmatched protection with 900% elongation, preventing leaks and water damage more effectively than traditional sealants

✨ Transform Your Space: Achieve a showroom-quality, stone-like finish with our 4-layer epoxy system – perfect for garages, retail stores, and workshops. Resists oil, chemicals, and UV fading for decades of durability.

Premium Epoxy: QuikFair is a lightweight, microballoon-filled, fast-curing 2-part epoxy fairing putty engineered to provide excellent moisture resistance
Frequently Asked Questions
How Do You Maintain a Wet Edge?
To maintain a wet edge, we use color blending techniques and moisture control solutions. By working in smaller sections and overlapping our strokes while the paint’s still wet, we achieve a seamless, professional finish.
How to Avoid Paint Flashing?
To avoid paint flashing, we should choose suitable paint types for the weather conditions, apply even thickness, and prep surfaces well. Working in manageable sections and keeping a wet edge will further enhance our results.
How Do I Get a Perfect Line Between My Wall and Ceiling?
To achieve perfection where our wall meets the ceiling, we’ll use painter’s tape for clean edges, then cut in carefully. It’s all about precision and technique—let’s embrace the art of a flawless finish together!
What Does It Mean to Maintain a Wet Edge When Staining?
Maintaining a wet edge when staining means applying techniques that guarantee each stroke overlaps with the previous one during application timing. This helps us achieve a seamless finish without visible lines or color variations.