As an Amazon Associate, we earn from qualifying purchases. Some links on this site are affiliate links at no extra cost to you. Our recommendations are based on thorough research and editorial judgment.


Spackle vs Joint Compound vs Patch Kits: Which Repair for Which Damage

Got a wall that needs some TLC? Whether it’s a tiny hole from a thumbtack or a bigger crack from a settling house, choosing the right repair method can save you time and hassle.
You may be interested


So, should you reach for spackle, joint compound, or a patch kit? Let’s get into it.
If you’re dealing with small holes or hairline cracks, spackle is where it’s at. It dries pretty quickly—usually in under 30 minutes—so you can paint over it in no time.
Saving a few hours is always a win, right?
For larger repairs, joint compound works best. Just remember, it’s not a one-and-done deal. You’ll want to apply it in thin layers, letting each coat dry and sanding it smooth before adding the next.
This extra effort pays off with a flawless finish.
Now, what about those medium-sized issues? Patch kits make those repairs straightforward, often coming with pre-cut patches and adhesive compounds.
They’re a real lifesaver when you don’t want to fuss around making cuts or measuring.
Honestly, it boils down to the damage you’re facing. Selecting the right product can make all the difference in your repair project.
So, what’s the takeaway here? Match your repair material with the level of damage for the best results.
What kind of wall repairs do you face most often?
Key Takeaways
- Spackle is ideal for small repairs like nail dents and hairline cracks, drying quickly in under 30 minutes.
- Joint compound works best for large repairs, needing multiple layers and up to 24 hours to dry for optimal results.
- Patch kits combine convenience and strength, suitable for medium-sized holes, and include necessary materials for easy application.
- Always use spackle for tiny holes and joint compound for extensive drywall repairs for effective results.
- Proper surface preparation and priming are essential before painting to ensure repair durability and a smooth finish.
Understanding Spackle and Joint Compound: Key Definitions
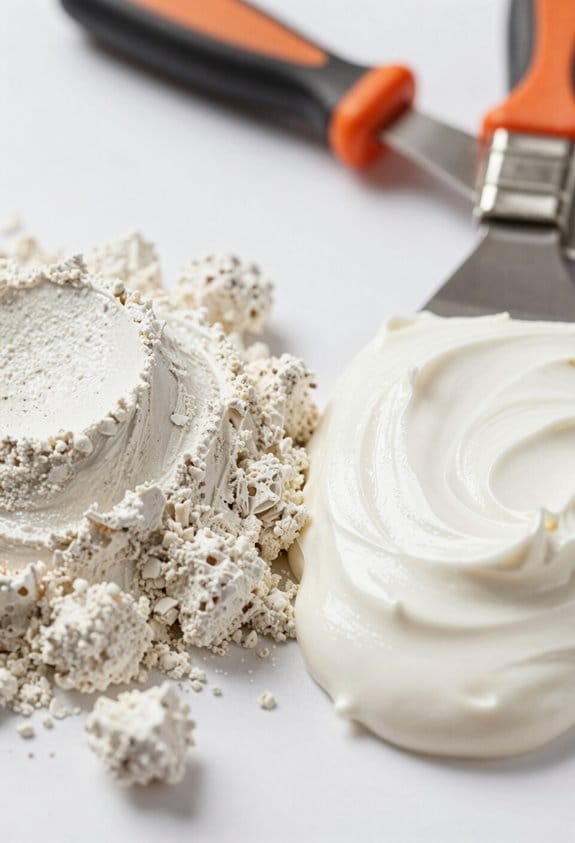
Ever started a small wall repair project and felt completely overwhelmed by all the options? You’re not alone! When it comes to filling holes or fixing cracks, knowing whether to reach for spackle or joint compound can really make a difference in your results.
Spackle is your go-to for quick fixes. It’s a lightweight, pre-mixed paste that works wonders on small holes like nail dents or those pesky hairline cracks. The best part is, it dries quickly—usually in under 30 minutes—so you can get back to your day without long waits.
Joint compound, or drywall mud, is where things get a bit heavier. It’s thicker and meant for those larger repairs that might take a little more time and effort. Drying completely can take up to 24 hours, but if you apply it correctly, you’ll end up with a nice, smooth surface that’s ready for paint.
When you’re tackling your next repair, try this: Use spackle for those speedy fixes and save the joint compound for any extensive drywall work you might need to do. It can help keep things simple and make your projects less stressful.
So, why does this matter? Choosing the right product can really impact how your final results turn out. Also, understanding the finish types you want after repair can guide your choice of materials and primers for a flawless paint job.
Comparing Spackle, Joint Compound, and Patch Kits: Key Differences
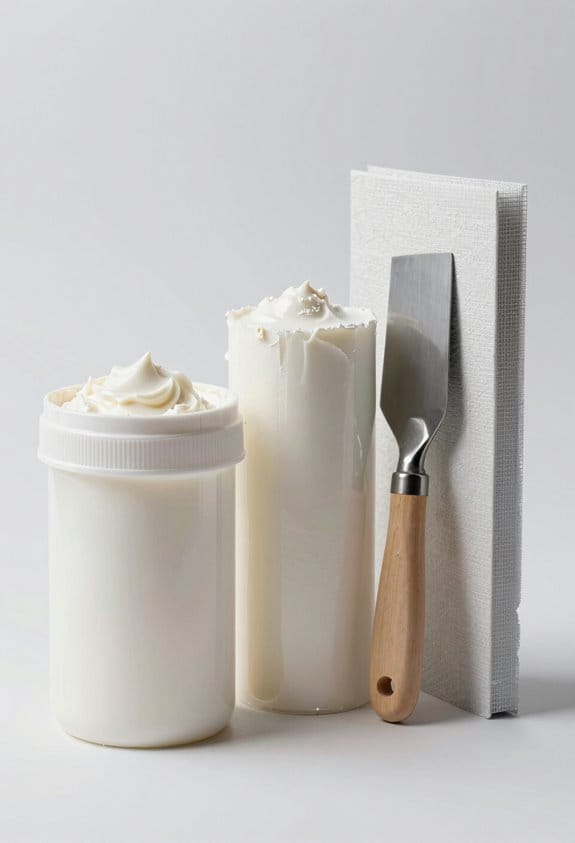
Have you ever stared at a hole in your wall wondering how to fix it? Figuring out the right material for your repair job can be tricky, but understanding the differences between spackle, joint compound, and patch kits can save you time and frustration.
Spackle is your best bet for small holes—think nail dents or minor imperfections. It dries pretty quickly, usually in about 30 minutes, which means you can get back to your day without much interruption. On the other hand, if you’re facing larger cracks or need to repair seams in drywall, joint compound is the way to go. This stuff requires a bit more patience, taking up to 24 hours to dry since you apply it in layers.
Now, what about those middle-of-the-road repairs? Patch kits can be a great option here. They combine the convenience of spackle with the strong coverage of joint compound. Most kits come with pre-cut patches and various materials to help tackle bigger damage areas without a hassle. Imagine not having to worry about buying separate items—pretty convenient, right?
So, when you’re deciding what to use, think about the size of your repair. Spackle is great for minor fixes, joint compound works for seams and larger repairs, and patch kits offer an easy solution for tougher jobs. Honestly, knowing these differences can make your DIY projects a lot smoother.
In short, choose your repair material wisely to make your life easier. Using the right materials along with proper tools and safety measures, like adjustable height scaffolds, enhances both efficiency and safety in your DIY projects. Which kind of repair project are you tackling next?
Recommended Products
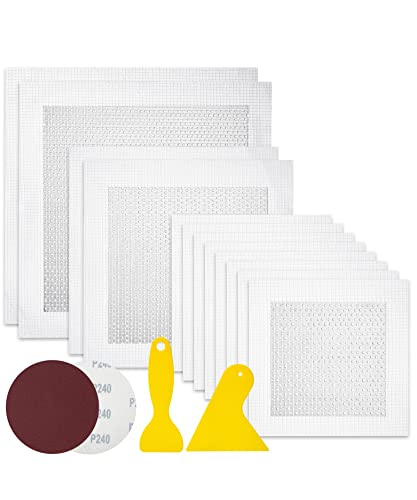
Package includes 12 pieces of drywall repair patch in three different sizes (8 pieces of 4-inch, 2 pieces of 6-inch and 2 pieces of 8-inch), 2 pieces of sandpaper (240 grit), and 2 plastic scrapers.

9-in-1 Drywall Repair Kit: This complete kit includes 2× 100g (3.53oz) repair paste, 2× extended nozzles, 1× scraper, 2× 5-inch sandpapers (240 grit), 1× painter’s tape, and 1× disposable gloves, providing all the essential tools needed to repair drywall, plaster, ceilings, cracks, holes, dents, and small surface imperfections. Ultimate all-in-one dry wall hole fill kit for fixing common wall damage, ensuring a smooth, seamless, and long-lasting finish with ease.

Complete Repair Kit: Contains 1 pieces repair putty(8.5oz), 2 inch wall repair patches(2pcs), 4 inch wall repair patches(1pcs), 2 pieces of sandpaper, and 4 plastic scrapers.
When to Use Spackle: Ideal Applications for Small Repairs
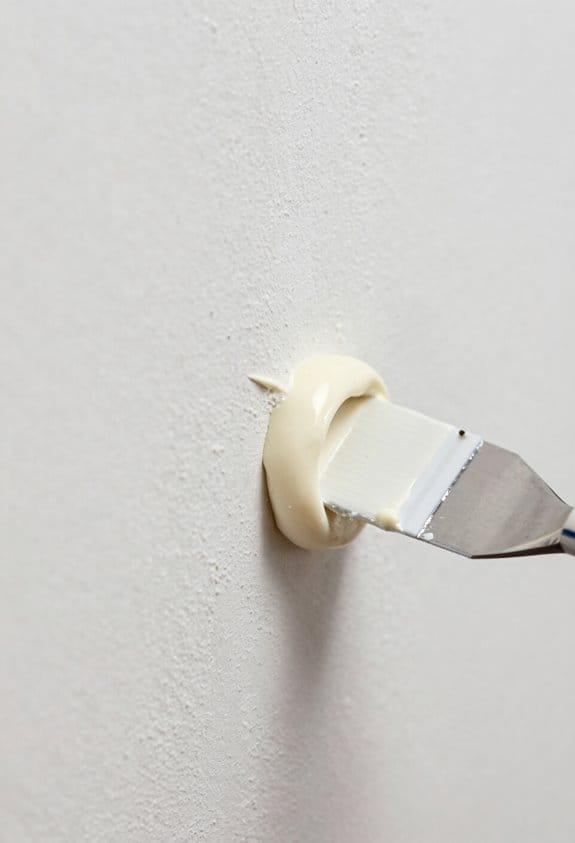
Ever find yourself staring at a small hole or a ding in your wall, wondering how to fix it without calling in a pro? You’re not alone—many of us face those pesky little repairs that feel too daunting to tackle. The good news? Spackle is your best friend for these minor fixes.
Spackle is thick enough to handle small holes, tiny dents, and even hairline cracks—much more effective than joint compound for these tasks. When you apply it, you typically only need one coat to get the job done, making it a quick fix. Most spackles dry in less than 30 minutes, meaning you can get back to your day without a long wait.
So, if you’ve got a dent in your wall, lightweight spackle is perfect since it spreads easily and smooths out nicely. And here’s the trick: if you’re working with different materials, vinyl spackle is a great choice because it offers both strength and flexibility.
But what if you’re trying to fix something in a bathroom or kitchen where moisture could be an issue? Truth is, acrylic spackle is specifically designed for these spots—it’s durable enough for both indoor and outdoor use. With these options in mind, tackling those minor repairs feels a lot less overwhelming.
For safety during repair projects, it’s also important to consider using appropriate particulate filters to maintain clean indoor air.
In short, spackle can help you achieve great results with minimal effort. So, what little wall repair project are you ready to take on?
Recommended Products

EFFORTLESS REPAIRS: Fill holes, cracks, and dents in one easy application, saving time and effort on your DIY projects

MAKES REPAIRS 3X FASTER than traditional vinyl spackling
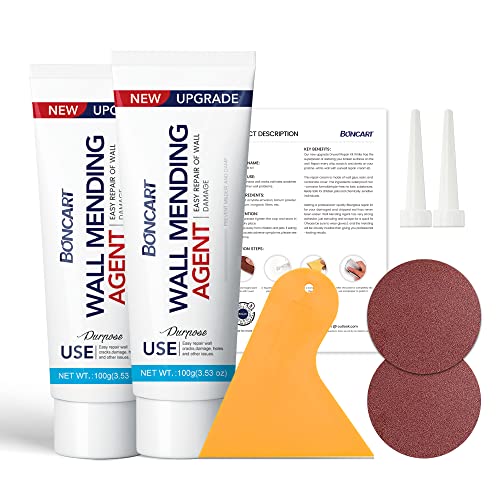
The drywall repair kit includes 2x Wall mending agent (100g), 2x Nozzle Extender, 1x Scrapers, and 2x Sandpaper.
Joint Compound Applications: When to Choose It
Repairing drywall can be a daunting task, especially when you’re faced with large cracks or holes. Ever had one of those days where a quick fix spirals into a big project? That’s where joint compound comes in handy. It’s the right choice when you’re dealing with bigger repairs or more intricate drywall work.
For those wide cracks and holes, joint compound really shines, especially if you’re pairing it with drywall tape. This combination ensures everything sticks well and holds up over time. If you’re tackling most patching tasks, an all-purpose joint compound should do the trick. But, if you’re in a high-humidity zone, you might want to think about quick-setting varieties that help speed things up.
Now, let’s talk about the application. Here’s the trick: always apply it in thin layers. It might seem tedious, but it’s key for managing the compound’s high shrinkage rate, which can lead to annoying cracks. After letting it dry for about 12-24 hours, don’t skip the sanding. A good sand job followed by a final coat can make all the difference in achieving that smooth finish.
Honestly, there’s no need to rush this process. Taking your time can really lead to the best results. Additionally, choosing products with multiple thin layers capability can enhance the durability of your repair. So, are you ready to grab that joint compound and get started on your next project?
Recommended Products

【Multifunction Drywall Repair Kit】 Our Drywall Repair Kit can help you easily restore your broken surface on the wall. Plaster Wall Repair Kit can fix holes, cracks, chips, scratch and dents on wall. You can smooth it out easily because the material is very delicate, and it will become very strong when it dry out.

【100% Fiberglass Mesh 】0.8mm Thickness -Made Of High-Quality Commercial 100% Grade Fiberglass Mesh.

APPLICATIONS: LLPT Drywall Fiberglass Tape is widely used for repairing and reinforcing wall cracks, ceiling joints, plasterboard seams, drywall repair, kitchen bathroom renovations, DIY projects, concrete walls, sanding, painting and curved edges; suitable for both exterior and interior applications; it provides a fast, neat, professional and permanent repair to cracks and holes; spackle the tape area is required for long time support. It's compatible with cement, wood, tile, concrete, plaster, paint and so on
Cost of Spackle, Joint Compound, and Patch Kits: Budgeting for Repairs
When you’re diving into home repairs, keeping an eye on your budget for things like spackle, joint compound, and patch kits can save you a lot of headaches (and money). Spackle is usually your best bet for small jobs, like filling minor holes and dents. You can find it priced between CAD $5 and $20 for the small tubs, making it an affordable option for quick fixes.
For those bigger jobs or larger holes, joint compound is the way to go. It’s priced a bit higher, usually between CAD $10 and $40, depending on the size of the container. If you opt for patch kits, you’ll find they cost between CAD $10 and $30; these are handy if you’re looking for an all-in-one solution.
So, why does this matter? Choosing the right material isn’t just about convenience; it can really impact your overall costs. Truth is, while spackle might be the go-to for small touch-ups, joint compound is definitely more appropriate for extensive repairs. It’s important to plan ahead and pick the right product for your project to avoid extra expenses down the road.
In a nutshell, being mindful of these costs can make a big difference in your home repair budget. Many of the patch kits include self-adhesive mesh patches that simplify application and save time on repairs. Which of these materials do you think will help you tackle your next project?
Preparing and Applying Spackle for Quick Repairs
Have you ever stared at a wall and wondered how to fix those annoying little holes? Maybe it’s from those picture hangers or just the usual wear and tear. Don’t worry; tackling this with spackle is easier than you might think.
First things first, take a moment to clean the area around the damage. You want to get rid of any dust, dirt, or loose bits that can mess with your spackle’s stickiness. Once that’s done, grab a putty knife and load it up with some spackle. When you’re ready, press it into those small holes firmly, then smooth it out so it’s even with the wall surface. Trust me; this little step is key to a professional-looking fix.
Let’s talk drying time. After you’ve applied the spackle, you’ll need to give it about 30 minutes to set. However, remember to check the manufacturer’s instructions because drying times can vary. Once it’s dry, use some fine-grit sandpaper to gently smooth the area until it’s level with the surrounding wall. This prep work ensures your paint will go on smoothly and look great.
Choosing a quick-drying spackle can save you time on your repairs, especially if you plan to paint soon after.
So, why does this matter? Because presenting a polished final look can transform the feel of your space. The best part is you can do all this in a relatively short time.
To wrap it up, spackling those small holes is an easy repair that can make a big difference. Are you ready to give your walls the TLC they deserve?
Applying Joint Compound: Techniques for Smooth Finishes
Getting a smooth finish with joint compound can feel like a challenge, especially if you’re trying to make wall repairs blend perfectly. But don’t worry; with a little technique, you can improve your DIY skills!
To start, apply thin layers of joint compound with a 6-inch taping knife. Make sure each layer dries completely before you move to the next step. Once it’s dry, sand it down lightly with a fine-grit sanding sponge. Don’t forget to feather the edges so they blend seamlessly into the surrounding wall. After that, you can switch to larger knives, like a 10-inch or 12-inch, for the next layers. These bigger knives can help cover larger areas and give you that smooth finish.
Here’s the trick: when mixing your joint compound, follow the manufacturer’s instructions closely. Getting the right consistency is key—it shouldn’t be too thick or too runny. You want it to be just right for easy application without drips or clumps.
Honestly, the way you apply the compound matters. Think about it: taking your time with thin, even coats can save you a lot of headaches down the road. You’ll spend less time sanding a bulky mess and have better results overall.
To wrap it up, achieving that professional-looking finish is all about technique and patience. Using a quick-drying primer can also help improve adhesion and create a smoother surface for painting. Have you tried using joint compound before, and what was your experience? It’s definitely worth the effort for those smooth walls!
Common Mistakes to Avoid With Spackle and Joint Compound
Have you ever tackled a home repair project only to find yourself facing unexpected problems? It’s frustrating when mistakes derail your hard work. One major point to remember is that spackle is perfect for those tiny holes and minor cracks. For anything bigger, joint compound is your go-to. Trust me, using spackle for larger repairs is just asking for trouble.
When you’re working with joint compound, consistency is key. Avoid slapping on thick layers. Instead, aim for thin coats. They dry more evenly and you won’t have to worry as much about cracking later. Another common blunder is skipping the sanding step between layers. It might seem tedious, but sanding really helps create that smooth finish you want.
You might be tempted to rush the drying process with a heat source. But be careful—this can lead to cracks and poor adhesion down the line. Plus, don’t forget to prime your surface before you start painting. Both spackle and joint compound absorb paint differently, and skipping this step can result in uneven surfaces.
If you keep these things in mind, your results will be a lot smoother. Using materials with the right thickness and durability can also make a significant difference in the quality of your repair. So, what’s your next project going to be? Let’s make it a success!
Understanding Patch Kits: When and Why to Use Them
Have you ever faced a wall repair and thought, “I don’t even know where to start?” If you’ve got a small or medium-sized hole or crack in your drywall, a patch kit can often save the day. These kits are perfect for DIY jobs and come packed with everything you need to tackle the repair without feeling overwhelmed.
Most patch kits come with pre-cut adhesive patches, joint compound, or spackle. Try this: grab a kit that matches your repair needs and you can get right to work without having to scour the store for multiple supplies. You can have those little repairs done in no time, especially since these kits are built for quick fixes that require minimal prep.
What’s great about the materials in patch kits? They’re designed to create a smooth finish, sticking well to surfaces like drywall, plaster, or wood. This means you won’t end up with a rough patch that’s more noticeable than the original damage. Honestly, who wants that hassle?
Remember, patching up your walls doesn’t have to be a stressful job. Just follow the instructions on the kit, and you’ll be pleasantly surprised at how easy it can be. The best part is, once you get the hang of it, you might even start looking forward to these little repairs around the house. Many kits also feature self-adhesive patches that make application simple and eliminate the need for additional tools.
Recommended Products

Drywall repair kit can be used for repairing interior or exterior surfaces like drywall, plaster, wood, brick and stone

DryDex is a latex polymer spackle for repairing interior or exterior surfaces like drywall, plaster, wood, brick and stone
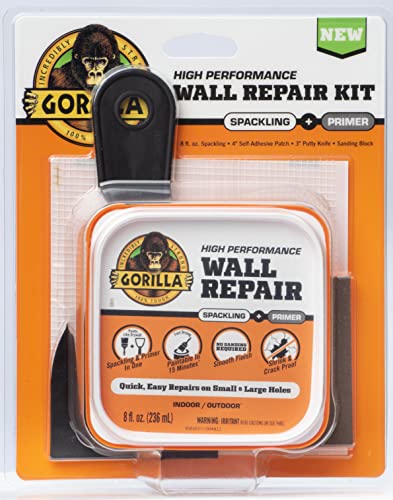
ALL IN ONE WALL REPAIR KIT: Contains all of the tools you need to complete strong, durable repairs on walls, ceilings and both small and large holes for a fast, professional-looking finish
Maintenance and Longevity of Your Repairs: Ensuring Durability
To keep your repairs lasting longer, there are a few important things to consider before and after you get to work. If you’ve got small holes, lightweight spackle is your best friend. For larger cracks, drywall mud is a better choice. Trust me, prepping the surface well—like cleaning it and applying a primer—helps ensure that your repairs hold up over time, no matter what you’re using.
Now, if you’re working on outdoor projects, this is where it gets a bit specific. Try switching to epoxy or acrylic spackle. They really outshine regular joint compound when it comes to dealing with moisture, which is a game changer if you’re in a humid area.
Have you ever forgotten to check on a repair? Regular inspections are essential! Take a moment to look for any signs of wear after your repairs are done. This way, you can catch things early, do some touch-ups, and save yourself from bigger issues down the line.
For wood projects, selecting a paintable wood filler that resists shrinkage and cracking will also help maintain your repair’s durability over time.
In short, paying attention to these details can make all the difference for the durability of your repairs. What repairs are on your to-do list that could use a little extra love?
Frequently Asked Questions
Is Spackle or Joint Compound Better for Drywall Repair?
For drywall repair, we prefer spackle for minor damage due to its quick drying time and adhesion properties. However, joint compound’s smooth finish is better for extensive repairs where texture and layering matter.
When Should You Not Use Spackle?
We shouldn’t use spackle for wall damage that’s deep, for areas with moisture, or where flexibility’s needed. Recognizing spackle limitations guides us to better repair alternatives, ensuring we apply best practices and prevent spackle drying problems.
Is Joint Compound and Patching Compound the Same Thing?
No, joint compound and patching compound aren’t the same. Joint compound uses thicker formulas for larger drywall repairs, while patching compound benefits quick fixes. We love spackle for its advantages in small touch-ups and easy application methods.
What Problem Is Spackle Used to Fix?
We use spackle to fix small damages like nail holes and hairline cracks. Its quick drying benefits make it ideal, but we should remember its limitations for larger repairs and how it compares to putty.


