As an Amazon Associate, we earn from qualifying purchases. Some links on this site are affiliate links at no extra cost to you. Our recommendations are based on thorough research and editorial judgment.
Rolling Over Repairs: How to Hide Patches and Feathered Areas
Dealing with patches and feathered areas on your shop floor can be quite a hassle, can’t it? But don’t worry; there’s a way to make those imperfections disappear.
You may be interested


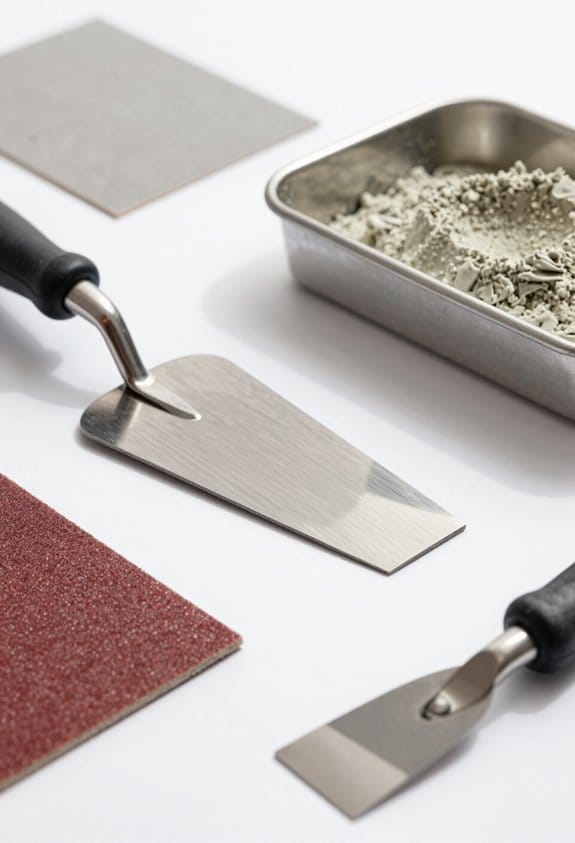
First off, you’ll want to level the surface with a power sander—make sure it’s nice and smooth. A clean surface will make all the difference!
Try this: once you’ve sanded it down, grab a thin layer of spackling compound and apply it over the patched spot. To get that feathered look, hold your trowel at a 45-degree angle and carefully smooth the edges. Give it some time to dry, then sand it lightly for that even texture you’re aiming for.
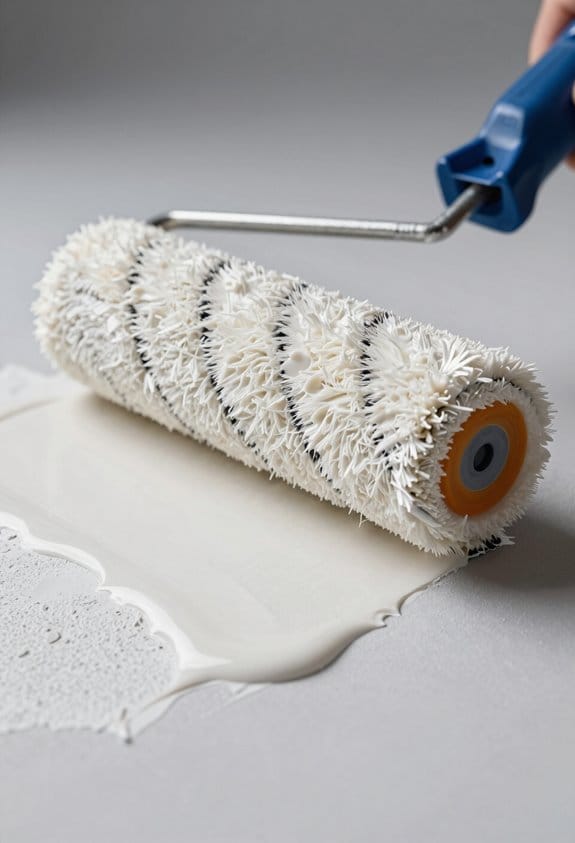
The best part is, priming the area afterward helps blend everything perfectly with the surrounding surface. Honestly, it can really enhance the overall appearance of your floor.
So, why does this matter? A well-done repair not only looks good but also prolongs the life of your flooring.
Once you’ve got this basic technique down, you can experiment with more tricks for flawless repairs. Have you tried any other methods that work well for you?
Key Takeaways
- Properly feather the edges of patches with joint compound at a 45-degree angle to create a smooth transition to the surrounding surface.
- Sand lightly between layers of compound to avoid visible lines and achieve a seamless finish.
- Use fast-drying primer on patched areas before painting to enhance adhesion and uniformity in color.
- Choose paint colors that closely match the original surface to effectively camouflage any repair work.
- Consider using a texture spray or tool to blend the patched area with neighboring surfaces for a cohesive look.
How to Repair Pitted Areas on Your Shop Floor
Have you ever walked into your shop only to find pesky pitted areas on the floor? It’s frustrating, right? But don’t fret; fixing those spots doesn’t have to be a major headache if you follow a few simple steps.
First things first, you’ll want to clean the area really well. Dust, dirt, and other contaminants can prevent any repair compounds from sticking properly. A bit of elbow grease here will save you time and headaches later on.
Next, it’s crucial to select a high-quality floor repair compound that’s meant for heavy-impact areas. You don’t want just any filler; make sure to check that it’s compatible with your existing floor material. Think of it like picking the right paint for a room; you want something that’ll last and blend in nicely.
When you’re filling those holes, take your time. Apply the compound carefully, and don’t rush through it. After you’ve filled the pits, grab a sanding block to level the surface—this step really helps in creating a smooth finish. Nobody wants uneven floors, right? A uniform texture is key before you seal or finish the area.
Now, why is all this so important? Addressing new pits promptly helps extend the life of your floor. If you ignore those little issues, they can lead to bigger problems down the road, and trust me, costly repairs aren’t fun.
For the best results, consider using a fast-drying spackle to minimize downtime and ensure quick project completion.
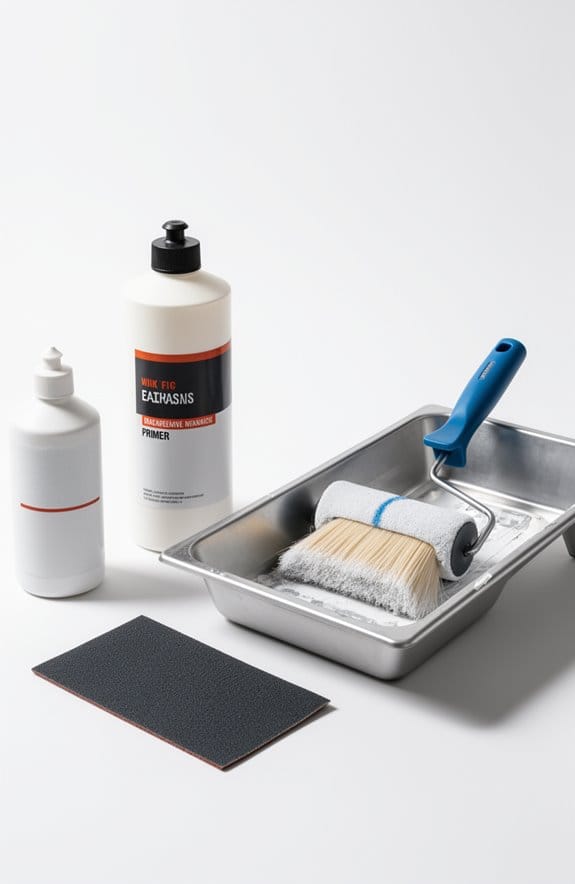
Essential Tools and Materials for Floor Repair
Have you ever looked at your floor and thought, “How did it get this bad?” Whether it’s from heavy foot traffic, water damage, or just plain wear and tear, dealing with a damaged floor can be frustrating. But don’t worry, getting your floor back in shape is possible with the right tools and materials, and I’ve got some tips to share!
First, you’ll want to invest in quality materials. A good epoxy or concrete resurfacer can really make a difference; they’re strong enough to handle whatever life throws at them. Trust me, you don’t want to skimp on this part if you want long-lasting results.
Next, let’s talk tools. You’re going to need a few essentials:
- A power sander to smooth out those rough patches.
- A trowel for applying the resurfacing material.
- A vacuum to clear away dust and debris before you start your repairs.
It might sound simple, but having the right tools can make or break your project.
Now, before you dive in, take a moment to clean the area thoroughly. This step is crucial; if you don’t start with a clean surface, you’re setting yourself up for trouble. Just think about it: how can anything stick or blend well on a dirty substrate? Depending on the size of the area you need to fix, you might need a bigger trowel or even a floor scraper to ensure a smooth finish.
The best part? Once you’ve applied the new material, you’ll need to be patient and let it cure properly. This waiting period is vital—rushing can lead to cracks or other problems later on. It’s worth the time to ensure your floor stands up to daily use!
For an even smoother and more efficient finish, consider using professional paint sprayers designed to handle resurfacing materials without thinning.
Step-by-Step Process for Effective Patching
Ever looked at a wall and thought, “How did that happen?” Patching up damage might seem daunting, but it’s a lot easier than you think.
Before diving in, make sure you’ve got a clean slate to work with. Start by cleaning and sanding around the damaged area. This isn’t just busy work; it really helps the patches and paint stick. Once you’re set, grab a self-adhesive patch and press it firmly onto the drywall. Getting those edges snug is key—trust me on this.
The next step? Spreading a thin layer of spackling compound over the patch. Feather those edges when you do this; it’ll help it blend in later. After the compound dries completely, lightly sand it down to remove any rough spots. You want it to be smooth and level, just like the rest of the wall.
Now, let’s talk about priming. You’ll want to prime the patched area, making sure to feather the edges again. This is important because when you go to paint, you want that finish to look seamless. It’s all about those little details.
Once you’re done with the patching and painting, it’s a great feeling to see the transformation. So, what project are you tackling next?
Using durable materials for repairs can significantly extend the life of your patches.
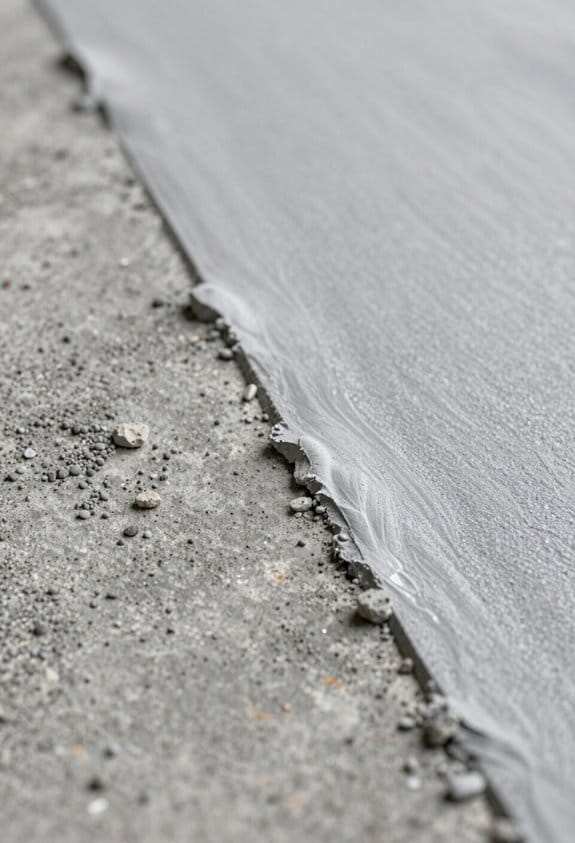
Feathering for a Smooth Finish
Feathering isn’t just some fancy technique; it’s the secret to making those patched spots blend right in with the rest of your wall. If you’ve ever tried to fix a wall and ended up with a lumpy mess, you know the struggle is real. It’s all about finesse.
To start, you’ll want to apply joint compound in thin layers, extending it a bit beyond the damaged area. Use a trowel or putty knife at a 45-degree angle. This is key to ensuring those edges are smooth. After you let each layer dry, give it a light sanding. This little step is crucial for getting that flawless texture you’re after. If your walls have a texture to them, here’s the trick: while the compound is still tacky, gently dab it with a cloth or sponge to blend it into the surrounding surface. So, why does this matter? Because it’s the difference between a patched wall and one that looks professionally done.
Honestly, don’t skip the proper sanding before you go for the final paint. You want those feathered edges to merge seamlessly with the original wall. A little patience and care can go a long way for a polished finish.
In short, feathering is all about making your repairs look as if they were never there. With some practice, you’ll find that it becomes second nature. For the best results, consider applying a fast-drying primer before painting to ensure smooth adhesion and coverage. What’s your next DIY project?
Avoid These Common Pitfalls When Repairing Floor Patches
Have you ever tried fixing a patch on your floor only to have it wear out quickly? It’s a frustrating situation that can easily be avoided with the right approach.
One mistake I’ve seen too often is using patching materials that just aren’t up to the job. Choosing durable materials that can handle heavy foot traffic is key to making sure the repair lasts. You don’t want to find yourself patching that same spot over and over again, right? Also, don’t overlook compatibility. Picking materials that match the existing floor’s color and texture is crucial for a seamless look—no one wants a noticeable repair job!
When you’re ready to patch, feathering the edges is super important. This technique helps create a natural blend with the surrounding areas, making your repair less noticeable. And let’s not forget about the application process. It’s really important to follow the manufacturer’s instructions, especially regarding curing times. Skipping this step can lead to bigger issues down the line.
So, why does this matter? Regularly checking your floors for signs of wear can save you from costly repairs later on. The best part is, by inspecting your floor regularly, you can catch small issues before they turn into major headaches. Using a water-resistant wood filler ensures durability and helps your repairs withstand moisture and wear over time.
Maintenance Tips for Keeping Floors Looking Good
Have you ever walked across your floor and noticed it looking a bit worse for wear? It’s frustrating, right? Keeping our floors looking great takes a bit of effort but the results are more than worth it.
When you spot any wear and tear, don’t just ignore it. Take the time to give your floors a thorough inspection. Catching those issues early means you can patch up the damaged areas before they turn into bigger problems that require full resurfacing. Try this: keep some repair kits handy for quick fixes.
Applying a sealant or protective finish can really do wonders too. This extra layer helps keep spills and stains from doing serious damage, extending the life of your flooring significantly. So next time you’re cleaning up, think about giving your floors that added protection.
Speaking of cleaning, regular sweeping and mopping are must-dos. It’s easy to overlook this, but it helps prevent debris from building up and scratching your floors. Think about it: that little bit of dirt could be working hard to ruin your beautiful surfaces.
Another handy tip? Set up a floor maintenance schedule. This helps you stay on top of any repairs you need to make and keeps your floors in top shape. It might seem mundane, but trust me, staying ahead of these tasks can save you a lot of headaches down the line.
Additionally, using plastic drop cloths during repairs or painting projects can prevent further damage and keep your floors mess-free.
In short, keeping your floors looking good doesn’t have to be a chore. By staying vigilant and proactive, you can enjoy beautiful floors for years to come. So, do you have a floor maintenance plan in place? Let’s make sure to keep our spaces looking their best!
Signs You Need a Pro for Complex Floor Repairs
How can you tell if a floor repair is out of your league? If you find yourself dealing with deep cracks or pitted areas larger than 3 inches, it’s probably best to bring in a professional. Mobility issues from multiple damaged spots or problems with your power tools’ performance is another strong signal that it’s time to call for expert help.
When your flooring is really worn down, a pro can check whether the repair materials will hold up over time. Sometimes, repairs need special techniques like resurfacing or texturing, and let’s be honest: that’s not something most of us can tackle at home without some serious experience.
So, what are some key signs that you shouldn’t go it alone? Here are a few:
- Cracks or holes larger than 3 inches
- Multiple damaged areas affecting floor stability
- Floor materials that require specialized repair methods
- Concerns about the longevity of repair materials
Truth is, hiring a professional not only makes things easier, but it also gives you peace of mind that the job is done right. After all, your floor is an important part of your home’s integrity. Why risk further damage when help is just a call away? Using high-quality materials for repairs is crucial for durability and long-lasting results.
In short, if you’re facing any of these challenges, don’t hesitate to reach out for expert assistance. What’s the first sign you noticed that made you think you might need a pro?
Frequently Asked Questions
How Do You Make Drywall Patches Invisible?
To make drywall patches invisible, we should use texture techniques like feathering joint compound, sanding for smoothness, applying a quality primer, and painting with a roller to achieve a seamless and uniform finish.
What Are Two Common Mistakes Made During Drywalling?
We can’t stress enough how essential it is to avoid overly thick joint compound and inadequate sanding. Using quality drywall materials is key to achieving that flawless finish we all dream about in our projects!
How to Feather the Edges of a Drywall Patch?
To feather the edges of a drywall patch, we’ll apply joint compound with a putty knife, extending it beyond the patch. After it dries, we’ll sand it for a smooth changeover using effective feathering techniques.
How Do You Feather the Edge of a Patch?
When we feather the edge of a patch, we use patch techniques, applying joint compound gradually and tapering it outwards. After smoothing, we sand lightly, ensuring a seamless shift that makes imperfections vanish like magic.


